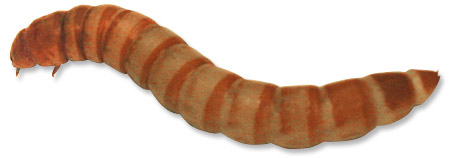
What is a Mealworm? (Tenebrio Molitor)
Tenebrio Molitor, commonly known as Mealworms, are similar to superworms in that they are hard-bodied larvae, very inexpensive and follow the same pupate pattern. The only difference between the mealworm and superworm is in size. Mealworms are small, as are the pupae and resulting beetle.
Unlike hornworms, silkworms and butterworms, mealworms possess low nutritional value. Nonetheless, they still make great crunchy treats for most animals.
Remember to keep mealworms in the fridge to prevent pupation.

 | can grow up to 1.5" in length |  |
Note: As with any species, do not feed an exclusive diet of only one insect. In the wild, all animals that feed on insects will eat 50 or more varieties, giving the animal a varied vitamin and mineral intake. As pet owners or breeders, we must approximate the feeding habits and the best way to do this is by feeding an exotic mix of bugs.
Mealworm breeding
Breeding Mealworms and Raising mealworms for Reptiles.
Mealworms are a widely used food for reptiles (herp food), bait, fishing and for feeding Sugar gliders, and more. Meal worms are also used for fishing. Pan fish love them. We have giant mealworms that are the same species of the regular, but double the size. They make a great bait! If you just want to learn how to raise meal worms just read on!
What you will need to breed mealworms:
1. Container. A Rubbermaid or plastic shoe or sweater box will work well.
2. Bedding. Wheat bran, or whole wheat four will work. So will chicken food.
3. Potatoes for moisture.
4. Starter culture of mealworms
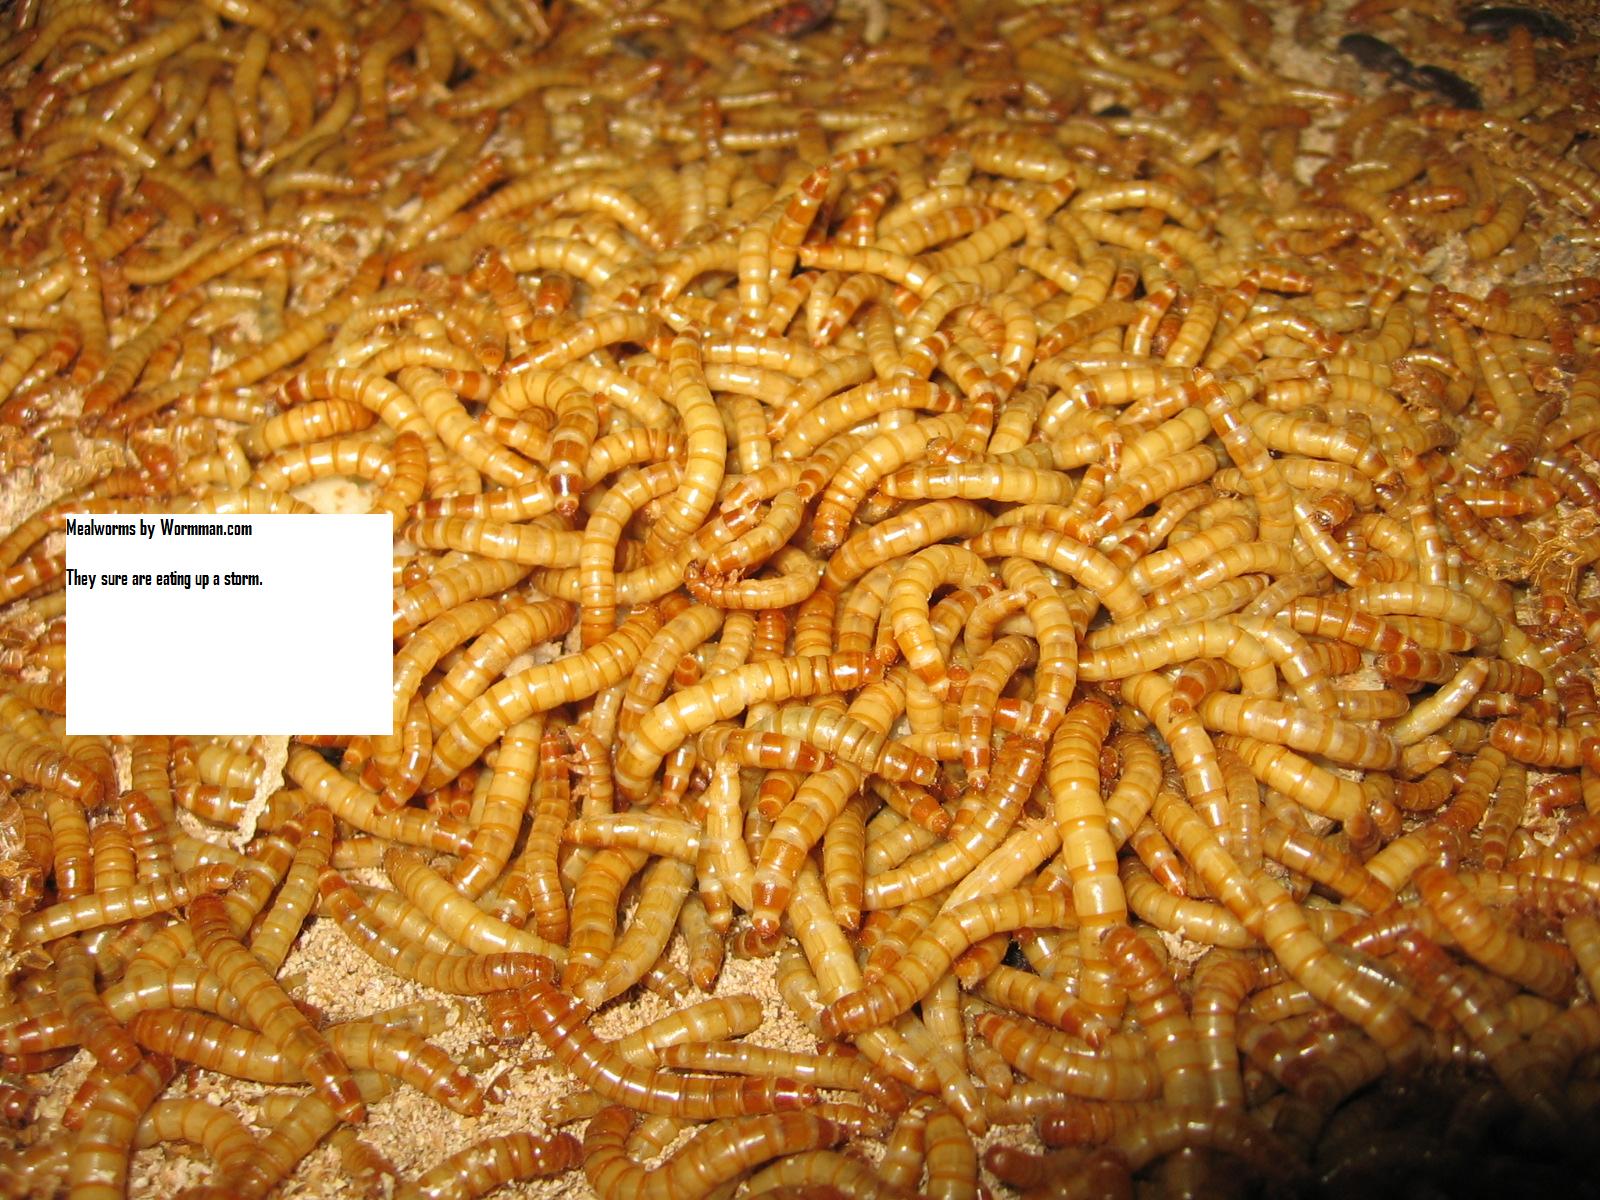
Mealworms are the larval form of the darkling beetle. They make excellent feeders for reptiles, birds and small mammals. Sugar gliders love them. They are easy to raise. We have been doing it for fifteen years. Meal worms are easily grown if you give them the ability to grow. Meal worms need a good quality bedding. By quality we mean clean fresh and a bedding made of wheat bran or whole wheat flour. The bedding will also be the food your mealworms eat. Our meal worm cultures are grown by the millions in large pans filled with wheat bran, which you can get at any farm and feed store. You can also use corn meal, chicken mash. The worms are kept at a constant 77 degrees, but you can keep them anywhere between 45 and 85 degrees. We have found that 77 degrees works best for us. The mealworms will take about 12 weeks to go from egg to worm, to beetle.
To start your mealworm culture pour 1 inch of bedding into the container and add your mealworms. Add a couple thin potato slices and that is it.
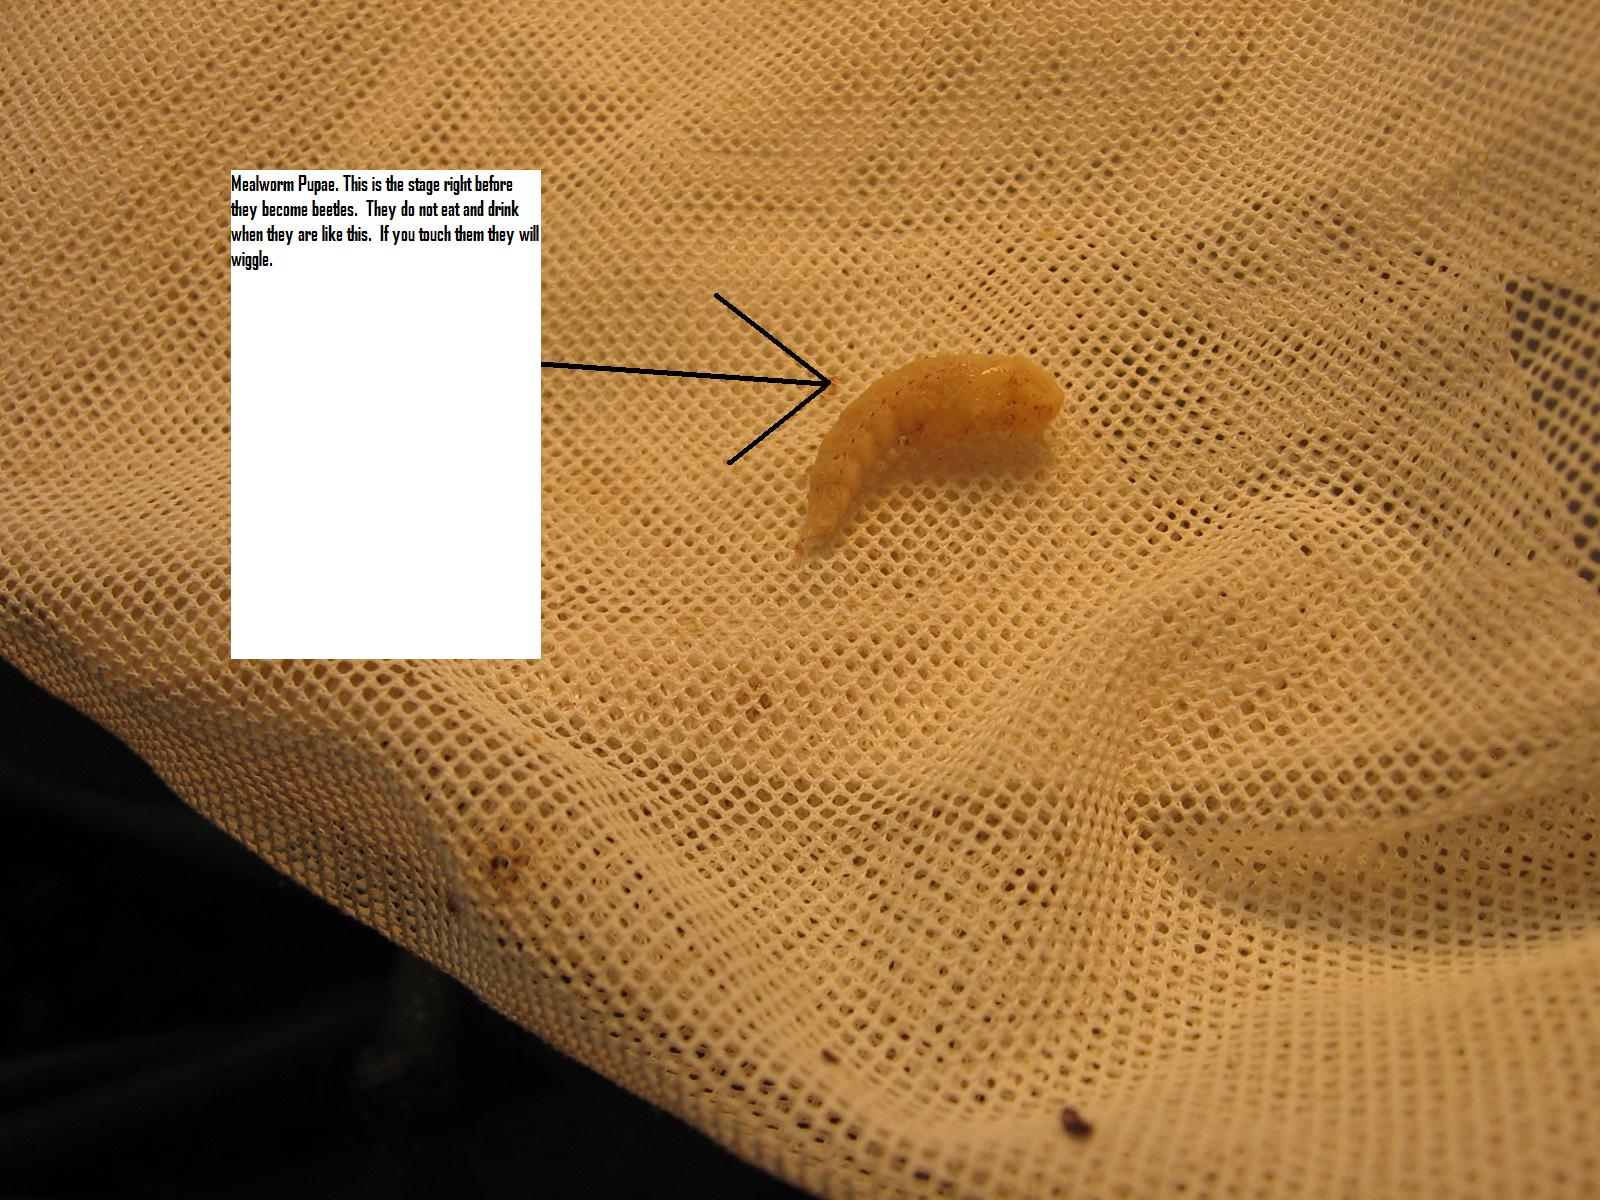
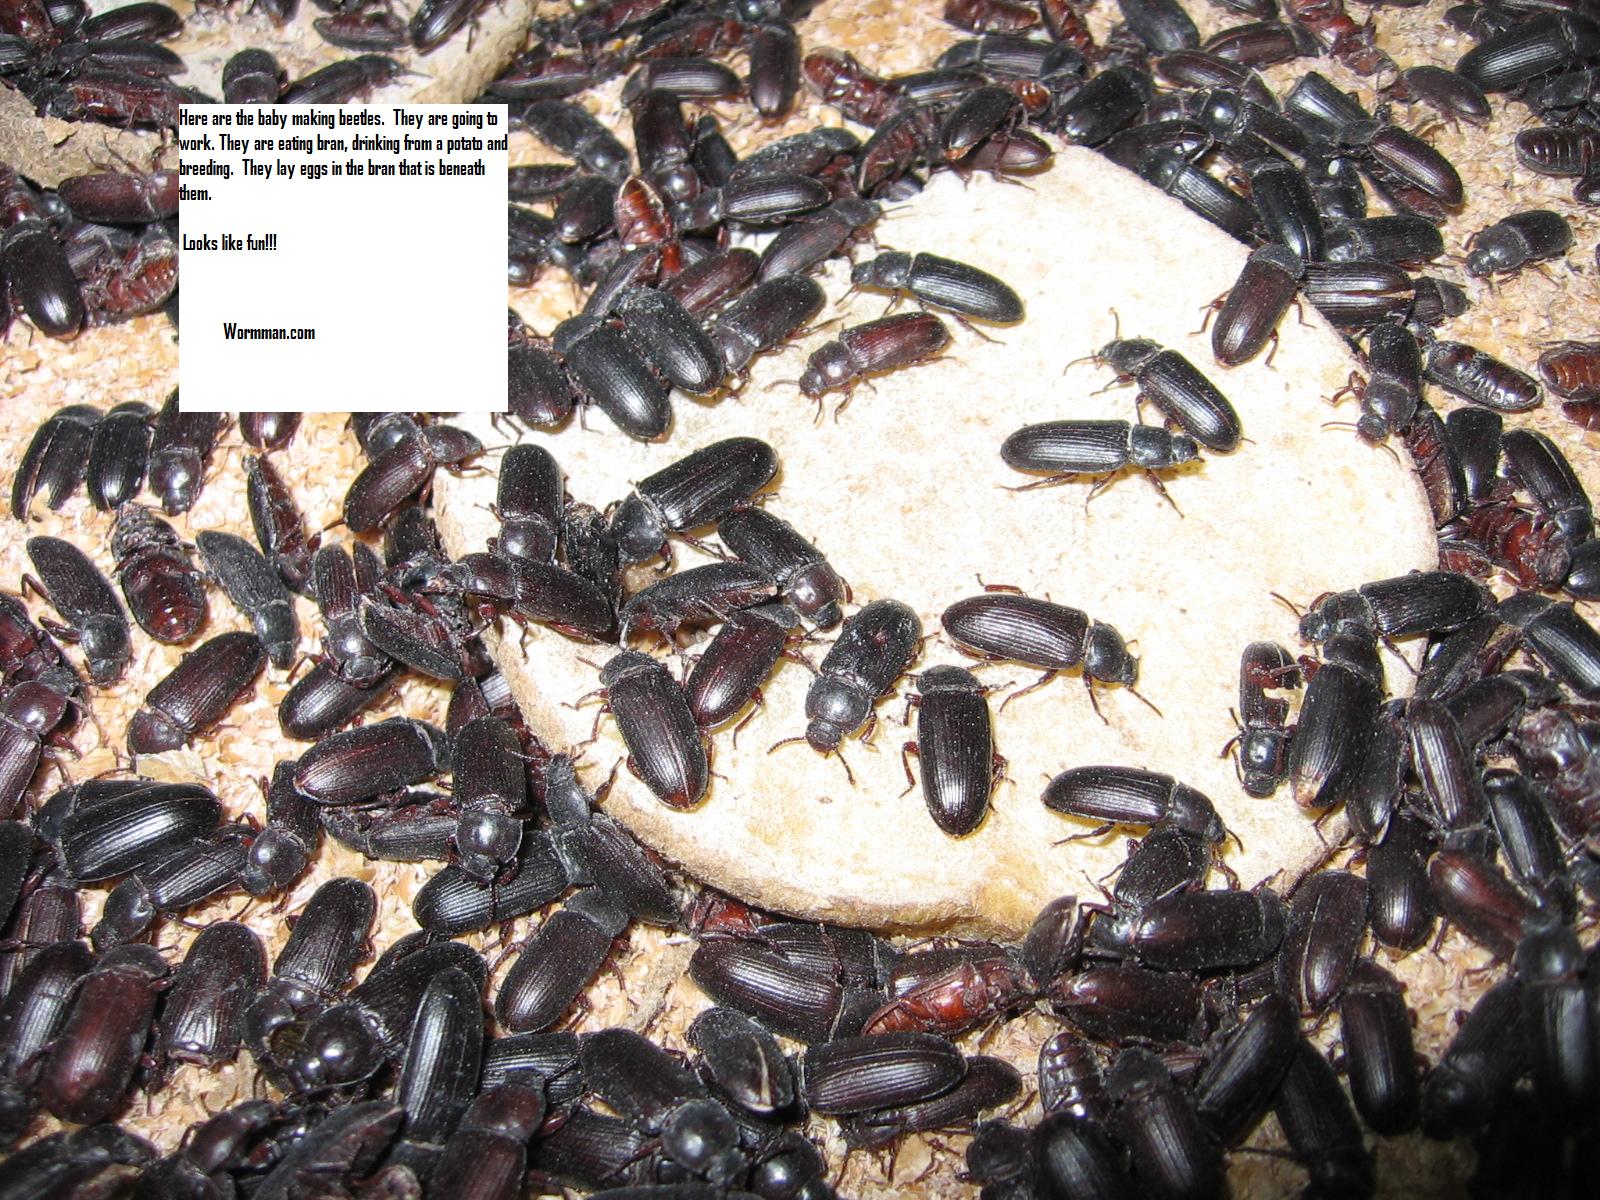
The mealworms will morph in a couple weeks into a grub looking thing (picture below). The grubs will become beetles. Place the beetles in a second container with bran and potatoes and let nature do the rest.
The beetles will die after a couple weeks. Keep the container with the bran in a dry area, and add small slices of potato when the slice you have dries out. In a couple weeks you will see tiny mealworms. Each female beetle will lay up to 500 eggs or more.
Here are the basic stages Mealworms go through.
1. The first stage is when the mealworm is in the egg.
2. The second stage is when the meal worm becomes a meal worm. The worms grow and shed their skin many times as they grow. It is good to have fresh bran for food and bedding, and a slice of potato for moisture. The mealworms will drink from the potato. This will also help them to grow large. The worms are very active, friendly, and playful at this age. Kind of like children.
3. In the third stage the mealworm pupates, and becomes a pupae. When the mealworm is a pupae it will not eat or drink. It will just lay around. Kind of like teenagers.

4. In the fourth stage the beetle forms, and live for a couple of weeks. This is the adult stage. This is when the beetle goes out and gets food and makes a home for the new mealworms that will come.

Remove he beetles from the culture of mealworms and place them in their own container of bran and you will be ready to start a new colony!


